Difference between revisions of "StationShipment ShowIntransit"
| Line 42: | Line 42: | ||
When everything is ok and you want to confirm the receipt press the “Confirm” button. | When everything is ok and you want to confirm the receipt press the “Confirm” button. | ||
| − | You can also use the batch receipt confirmation page, see [[http://wiki.skylogportal.com/?title=StationShipment_IntransitShipmentStationsIndex | + | <h2>Using the Batch Receipt Confirmation function</h2> |
| + | |||
| + | You can also use the batch receipt confirmation page, see [[http://wiki.skylogportal.com/?title=StationShipment_IntransitShipmentStationsIndex here]] for its separate walk through. | ||
Revision as of 11:26, 27 November 2019
Contents
Confirming Receipt of your Shipments
On receipt of your shipment you will need to confirm receipt of the goods and close out the shipment in SkyLog. It is important that you verify receipt of your shipment against the packing list that accompanies the shipment.
A single shipment may relate to more than one issue in SkyLog if one or more issues have been consolidated into a single shipment. You can confirm each issue on by one using the “Receipt Confirmation” under Station Provisioning or you can confirm multiple issues using the “Batch Receipt Confirmation” tab.
Confirming each Issue individually
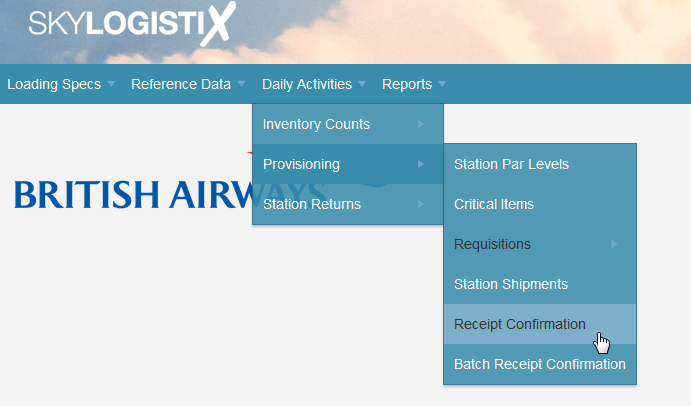
To access the Receipt Confirmation functions, select the “Receipt Confirmation” option under “Daily Activities”, “Provisioning” from the home page.
You should see a list of all the shipments on the way to you that have not yet been confirmed as received. You can view the detail by pressing the “Show” icon, if you want to confirm receipt of the shipment press the edit pencil icon.
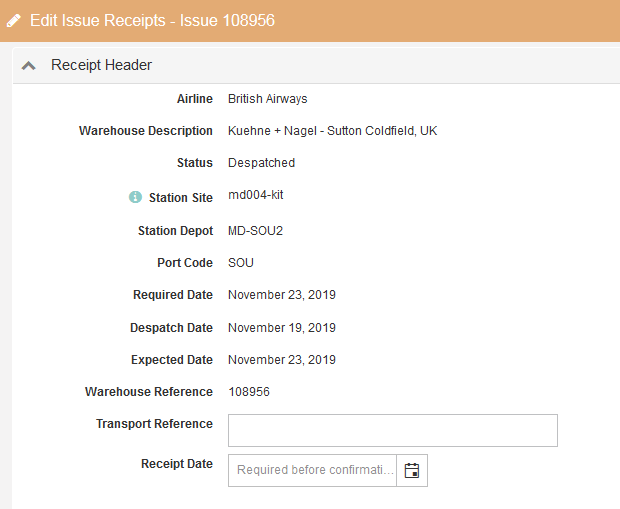
In the header part of the screen you need to confirm the date you received the shipment, it will default to the current date but you should change this if it was received earlier. This is important as SkylogistiX use this data to monitor the performance of the suppliers and transport providers. The image below shows the part of the screen where you enter the date received.
In the detail section which lists all the items on the shipment you need to confirm the quantity of each item received. You should also use the comments field to record any discrepancies with the shipment.
The first step to confirming your receipt is to enter the Received Quantity. You can either type this in line by line or you can use the “Set All Received Quantity” button, located at the bottom of the screen, which will set the Received Quantity for every line to match the Despatch Quantity. Then if some lines are different you can edit them before pressing “Confirm”.
If you wish to record a comment such as “Goods were damaged” you can do so in the comment field for the line in question.
When everything is ok and you want to confirm the receipt press the “Confirm” button.
Using the Batch Receipt Confirmation function
You can also use the batch receipt confirmation page, see [here] for its separate walk through.


